

Benefits
User provisioning within your IdP simplifies the process of granting access to Kosli; you no longer need to explicitly invite people one-by-one. Your existing processes and procedures for onboarding team members can now be leveraged to give access to Kosli. User deprovisioning within your IdP means that when your people no longer need access to Kosli, for example because they have changed roles or left your organization, their access to Kosli is revoked automatically.Prerequisites
Before configuring SCIM, make sure that:- Single sign-on is already configured. SCIM builds on your existing SSO connection, and IdP groups are mapped to Kosli roles in the SSO part of the same wizard.
- SCIM is enabled for your Kosli organizations. Tell your Kosli Customer Success representative which organizations you want SCIM for, so that the matching roles can be created — see Roles for new and existing users below.
- You have a link to the setup wizard. Your Customer Success representative provides one with instructions for your IdP, which you can pass on to the team that will do the work.
- That team can administer your IdP. They need permissions to create or modify application registrations, and to manage the groups you map to Kosli roles.
Setup
The team that manages your IdP configures the connection between your IdP and Kosli’s auth provider. Because different IdPs need different configuration, the wizard gives step-by-step instructions specific to yours.Adding SCIM does not normally require any change to your existing SSO connection. The exception is Okta over
OIDC: Okta’s SCIM integration only works with a SAML connection, so an Okta OIDC connection has to be recreated
using SAML before SCIM can be enabled. If you are not sure which your IdP uses, ask your Kosli Customer Success
representative.
1
Open the wizard and select SCIM Configuration
Open the link from your Customer Success representative and select the SCIM Configuration box on the
first screen.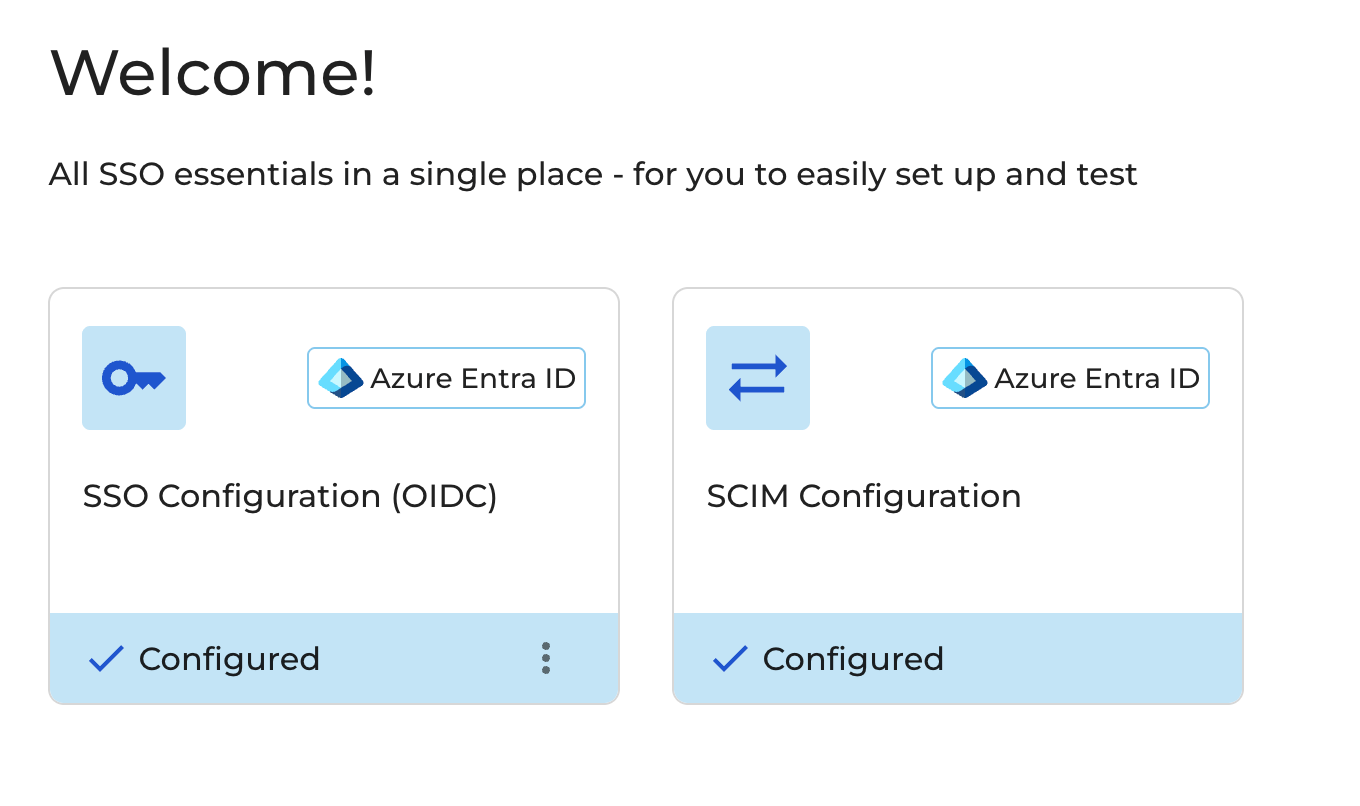
2
Follow the wizard
The wizard then guides you through setting up and configuring the application, with screenshots at each
stage.
3
Create your IdP groups and add your users
Create a group in your IdP for each Kosli organization and role you need, then add your users to them. See
Roles for new and existing users for the group naming scheme, and for
how to map those groups to Kosli roles.
4
Trigger a provisioning cycle
Once your users are in the right groups and you have triggered a provisioning cycle within your IdP,
changes to your users within the IdP are reflected in Kosli.
Timeliness
How quickly a change reaches Kosli depends on your IdP’s provisioning schedule, which you configure there — some IdPs sync on a fixed interval rather than immediately. Once your IdP has sent the change, it is typically reflected in Kosli within five minutes. To apply a change straight away, trigger a sync in your IdP.Existing Kosli users
People who already have access to Kosli via SSO keep that access. Enabling SCIM does not, by itself, change anyone’s roles or organization memberships. Nothing in Kosli changes until your IdP sends a change. A user who is not assigned to any Kosli group is not provisioned or deprovisioned and their existing access is untouched until you add them to a group. Once SCIM has started sending changes, your IdP drives membership. Once a user has been provisioned through SCIM, the groups they belong to in your IdP determine their organizations and roles in Kosli, replacing whatever they had before. That makes the first sync worth planning. A full or forced sync in your IdP — however it is labeled there — provisions every assigned user at once, not only the ones you have just changed, so make sure your groups and role mappings are correct before you trigger one.Roles for new and existing users
Kosli supports role assignment through your IdP, so that users’ roles within Kosli can be managed by your onboarding and IT teams, without requiring admin access to Kosli. You will need to tell us which of your Kosli organizations you wish to have SCIM enabled for; we will then create the necessary roles within our auth provider. Each organization will have four roles, with the nameskosli-<org-name>-<role>, to correspond to the available roles in Kosli (admin, member, snapshotter, reader).
Within your IdP you will need to create a group for each of these roles. You will then add your users to the groups corresponding to the organizations/roles you wish them to have in Kosli. If a member receives two different roles for the same organization, the highest-privilege role will be assigned.
Map your IdP groups to Kosli roles
1
Switch to the SSO Configuration wizard
Group mapping is done in SSO Configuration, not in the SCIM configuration you used to set up
provisioning. Open SSO Configuration and go to the Group Attribute Mapping tab.
2
Map each group to its Kosli role
Follow the instructions on the tab, mapping each of your IdP groups to the corresponding role.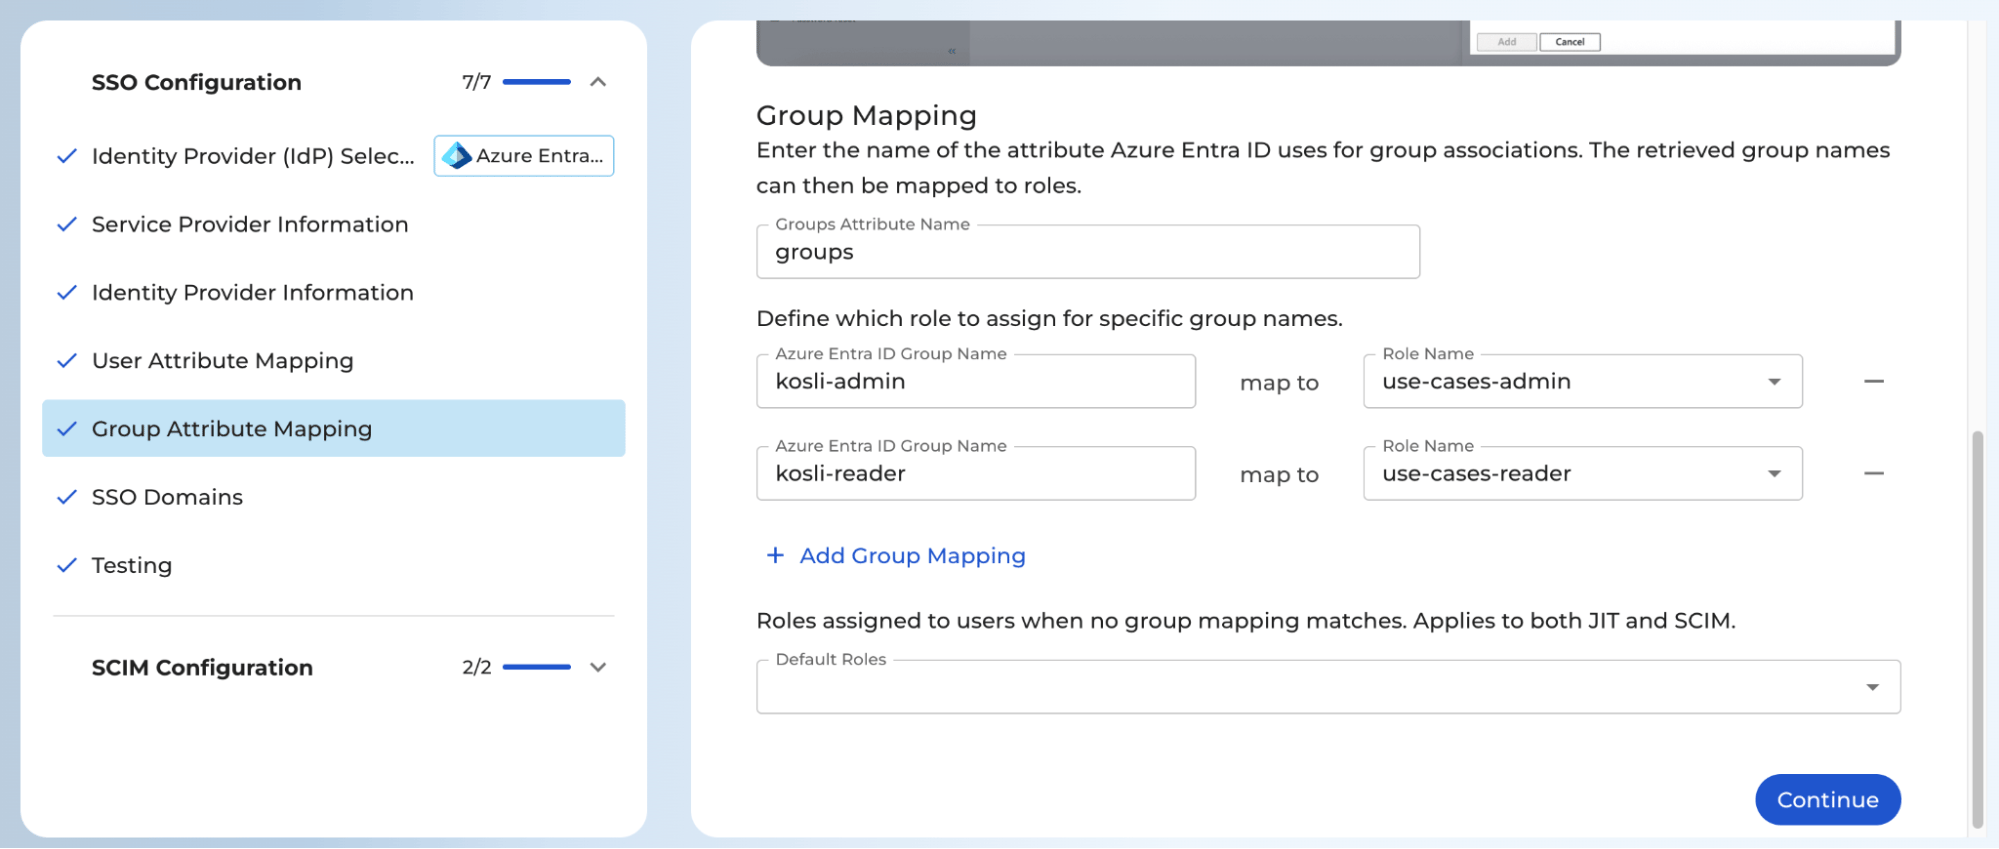
3
Save the configuration
Click through to the Testing page and save the configuration.
Once a user has been provisioned through SCIM, your IdP is authoritative for that user: neither their roles nor
their membership of your Kosli organizations can be changed in Kosli, so every later change has to be made through their IdP group membership.