

Enabling single sign-on
When you are ready for your organization to access Kosli using single sign-on, your IT team will need to configure a new SSO connection. It’s done through a self-service setup wizard to make this as straightforward as possible. Your Kosli Customer Success representative will provide you with a custom direct link to your personalized SSO setup wizard.Step by step
Before you begin, you will need access to your Identity Provider (IdP) — such as Azure Entra ID, Okta, or Google Workspace — with permissions to create or modify application registrations and SSO configurations.1
Review current status
Open the link provided by Kosli. The wizard will display the current state of your SSO connection. If no connection exists yet, you’ll see an option to add one.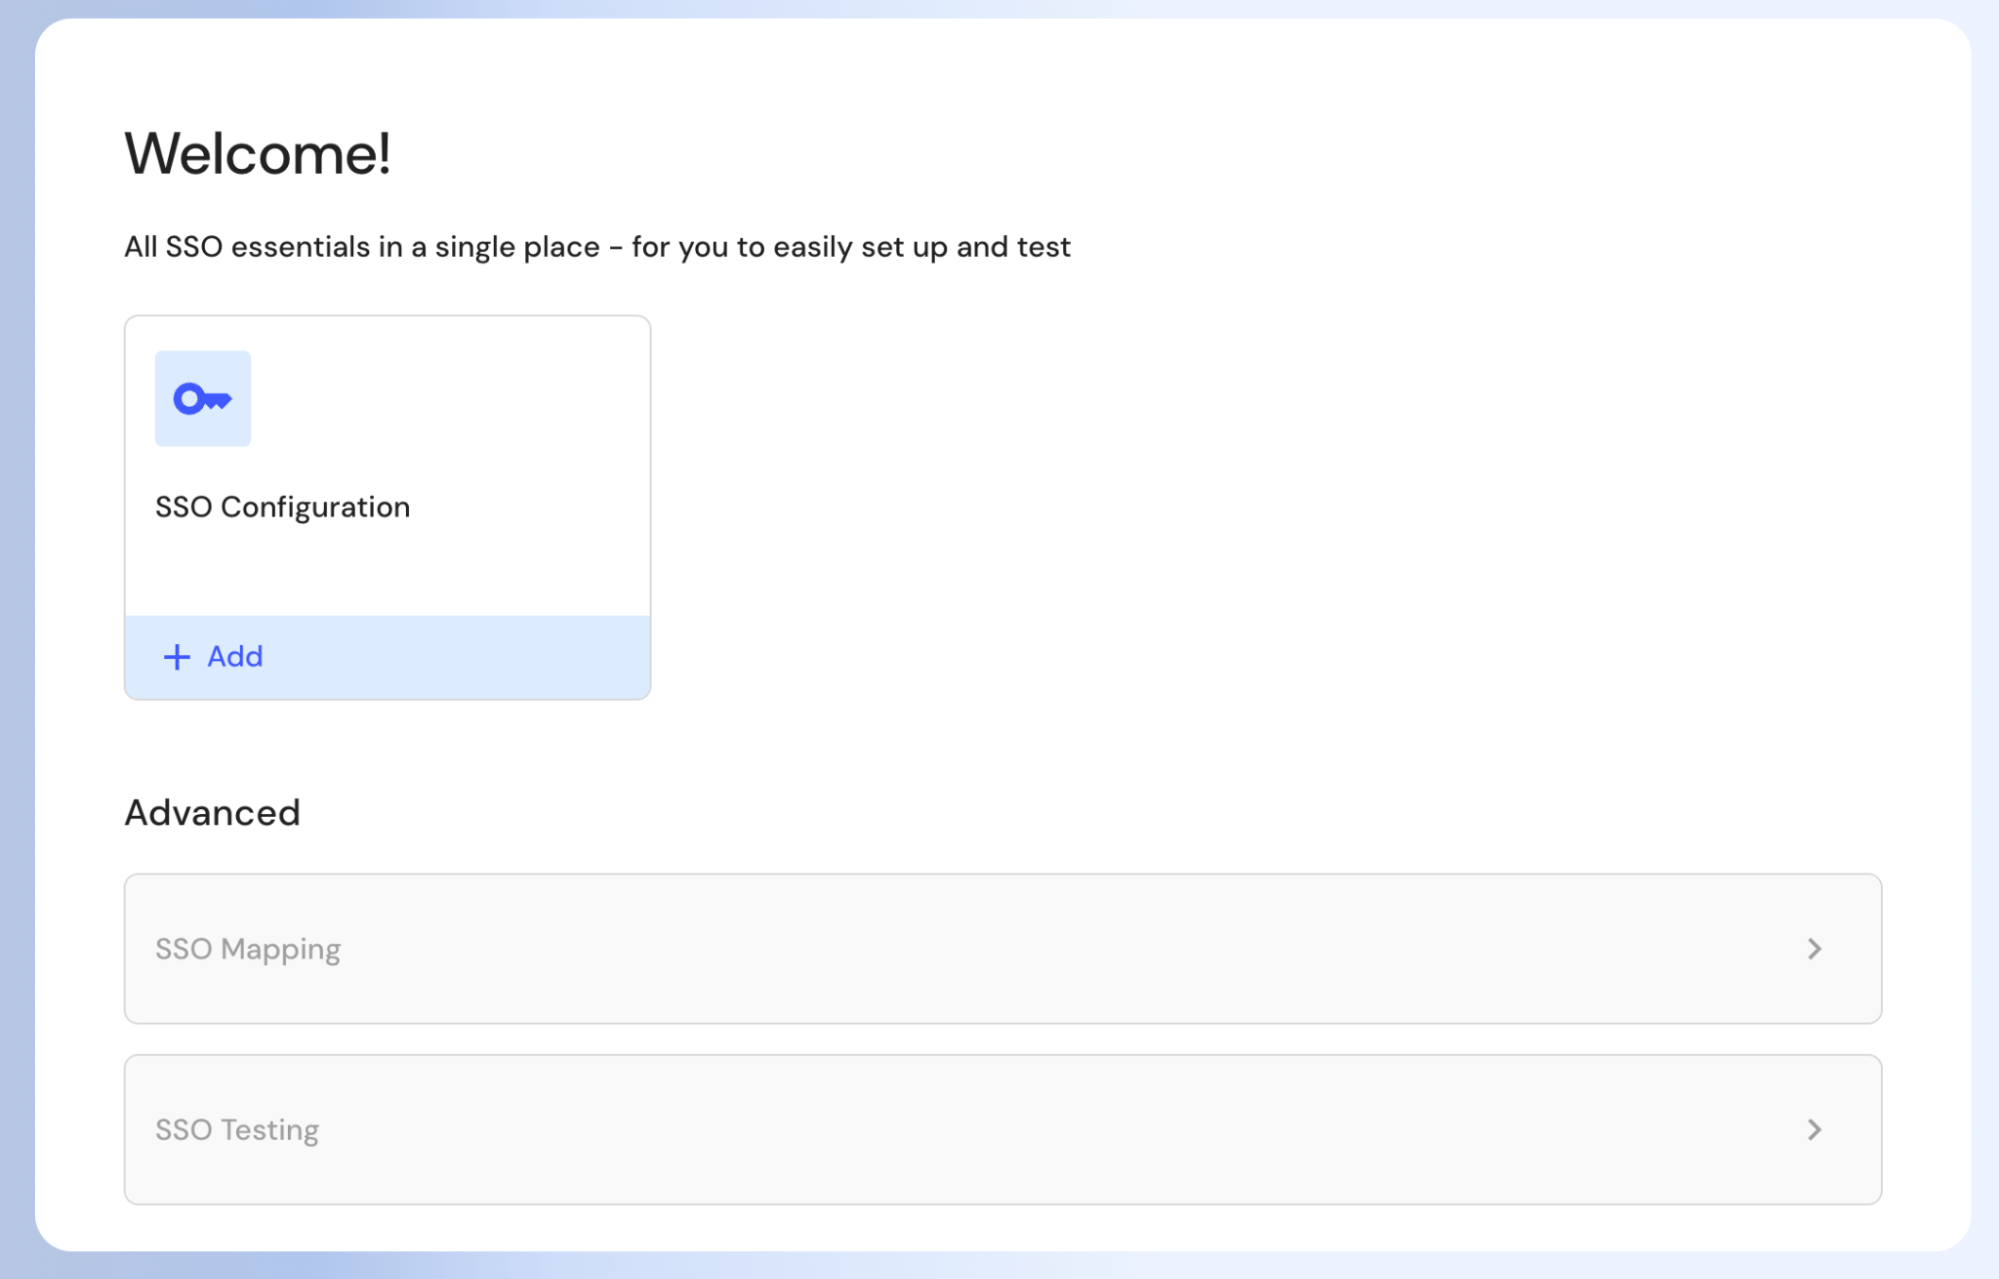
2
Select your identity provider
Click + Add, then select your IdP from the list (for example, Okta, Azure Entra ID, Keycloak, or Auth0). Select OIDC if there is a choice. The exception is Okta: its SCIM integration only works with a SAML connection, so select SAML if you use Okta and expect to add SCIM provisioning — choosing OIDC now means recreating the connection later.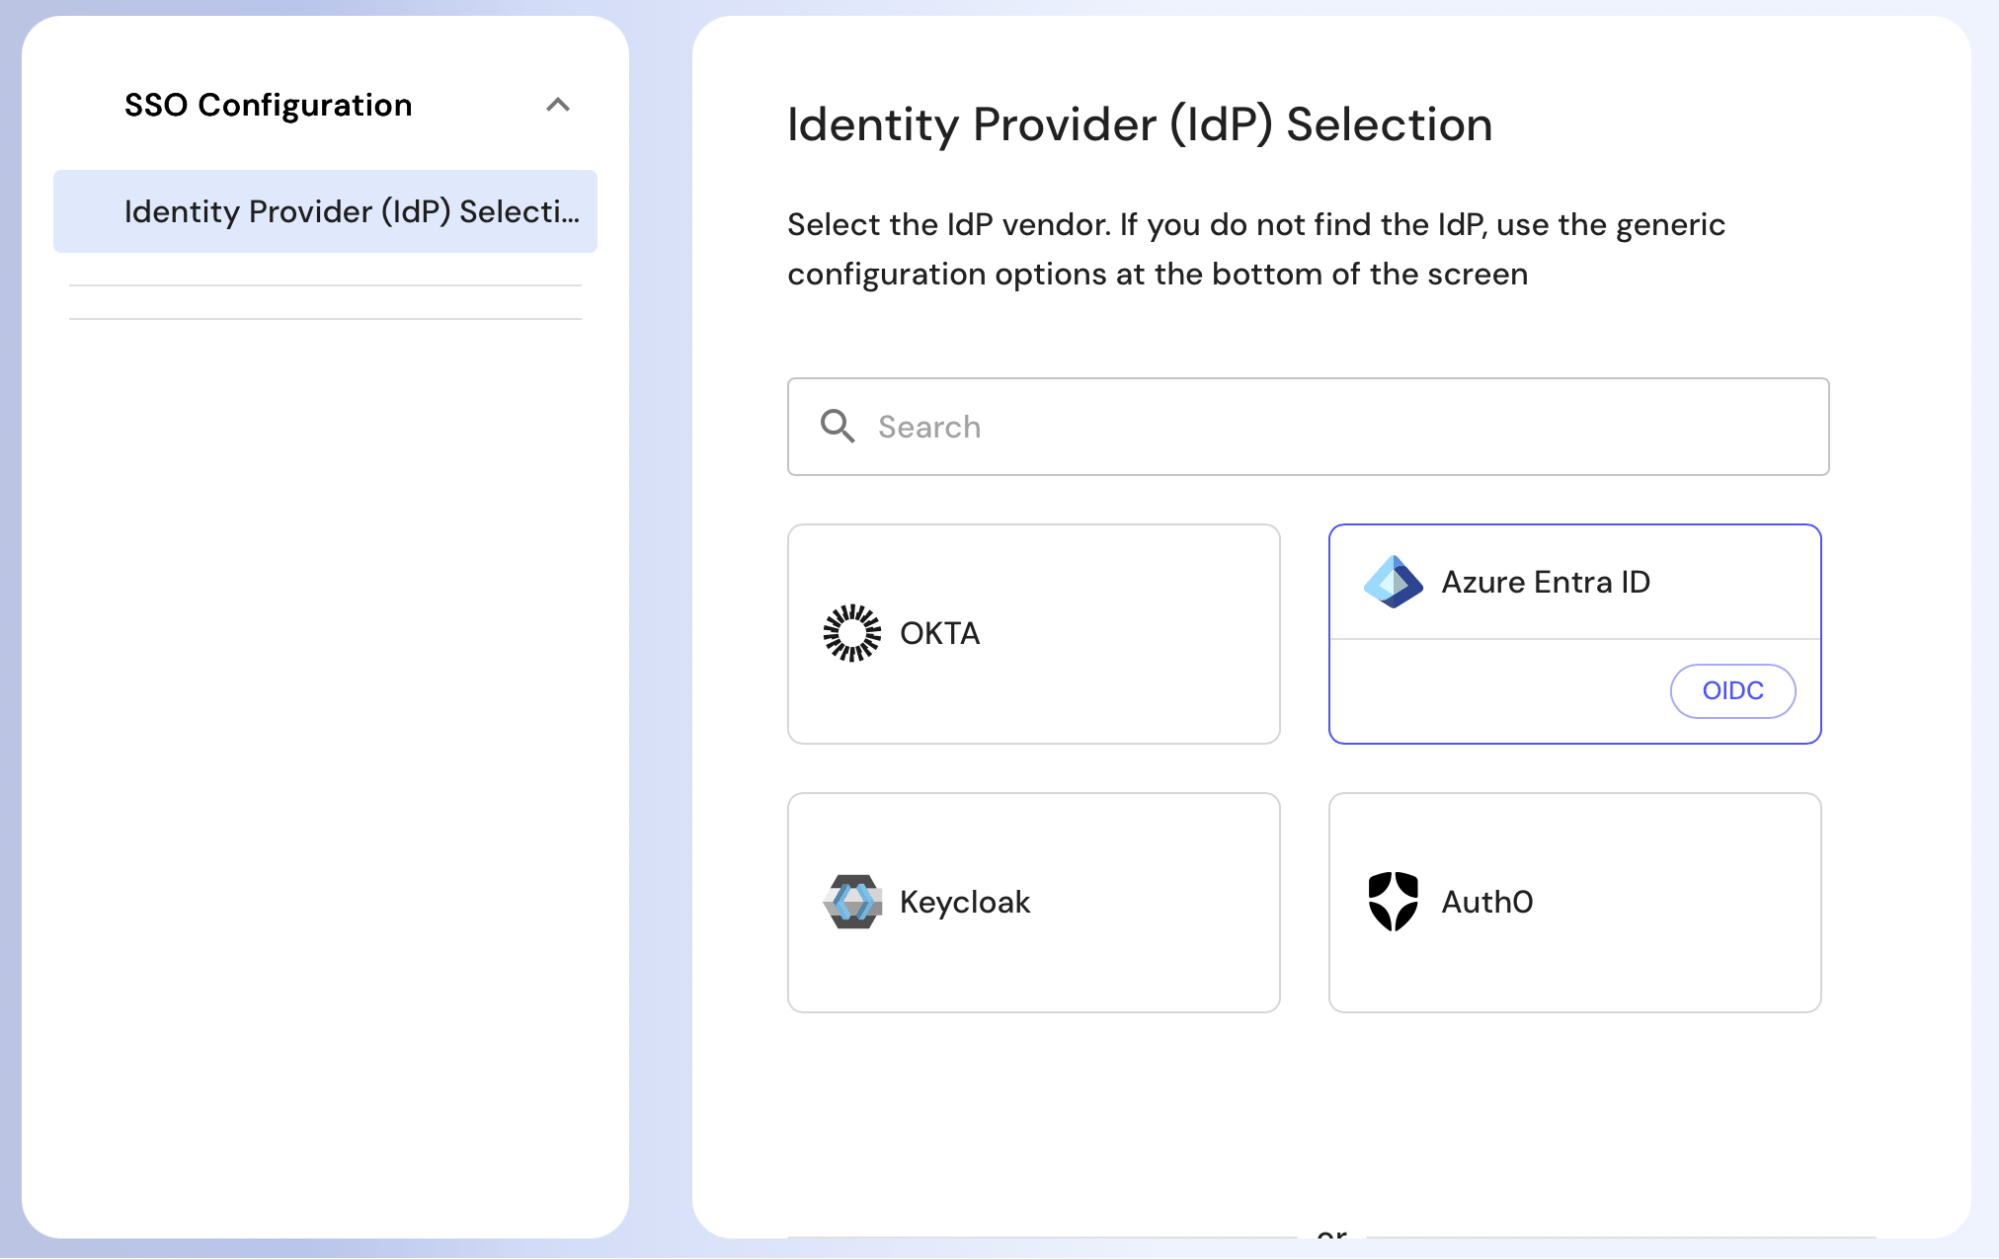
3
Configure the connection
The wizard will guide you through the setup process with screenshots specific to your IdP. You’ll be asked to copy and paste values between your IdP and the wizard. For an OIDC connection these are the Client ID and Client Secret from your IdP’s application registration; for a SAML connection the wizard asks for your IdP’s metadata instead.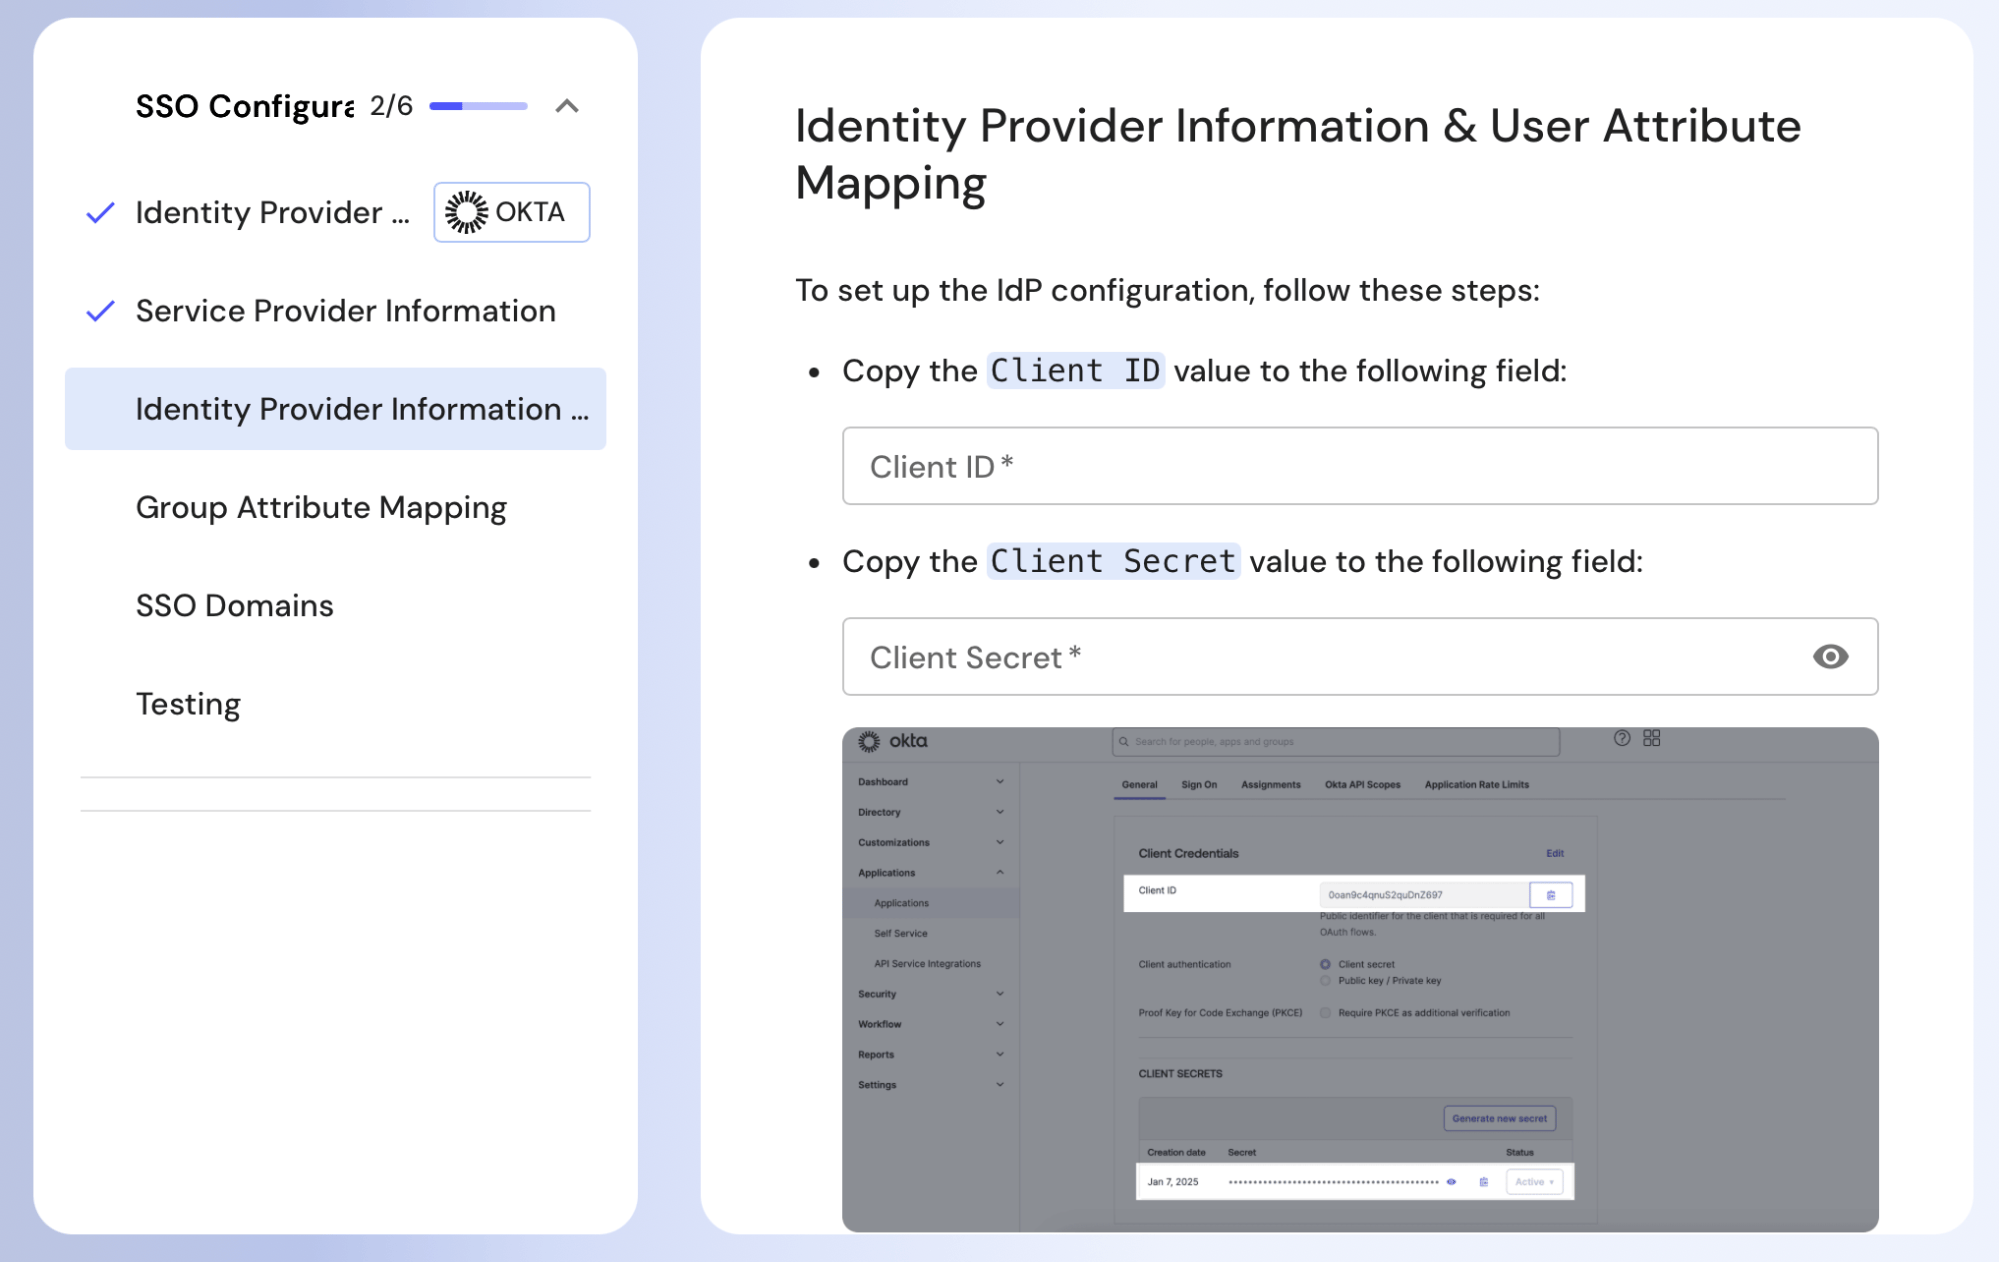
4
Notify Kosli
Once you have completed the SSO configuration in the wizard, please let your Kosli Customer Success representative know. We will then switch your email domain to use SSO and confirm when the migration is complete.